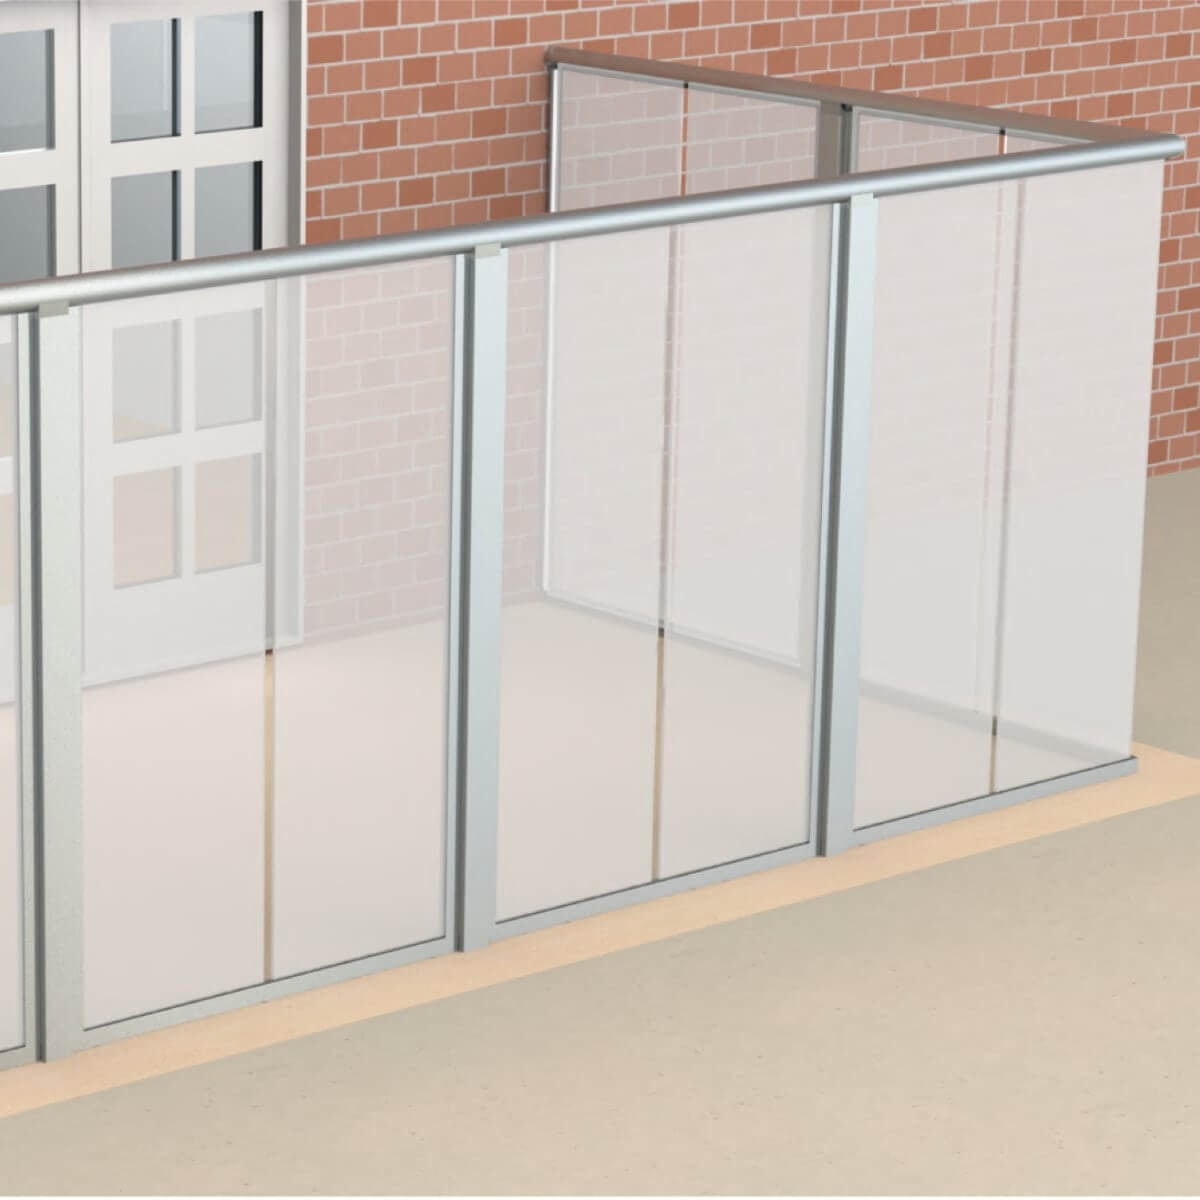
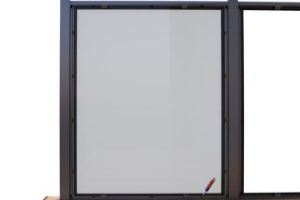
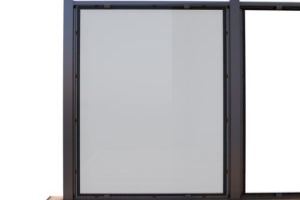
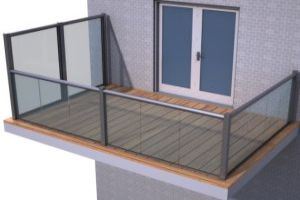
Orbit Privacy Screens Installation
Tech Specs | Gallery | Projects | Reviews
You will need:
- Appropriate fixings for the wall
- Drill for wall fixings
- Spirit level
- Tape measure
- Appropriate lifting equipment and installation platform
- Rubber mallet
- Soapy water
Installation and documentation
The installation video and PDF downloads below are detailed, illustrated step-by-step guides. Technical specification data is also included

Installation guide
Specifications
Structural calculations - normal wind loads
Structural calculations - high wind loads
1) Check you have all the parts of the order.
2) Check the height of the glass.
3) Check the height of the posts.
4) Check both these heights against the required height on site making sure they are correct before assembling.
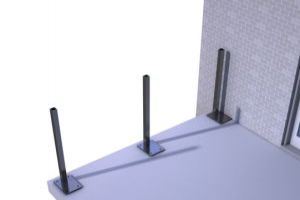
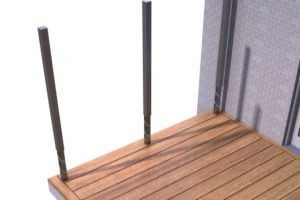
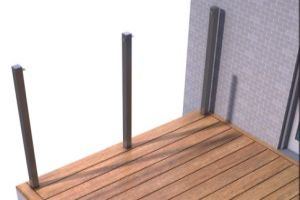
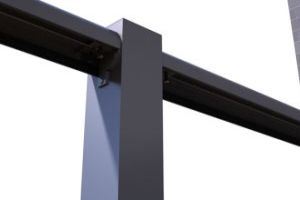
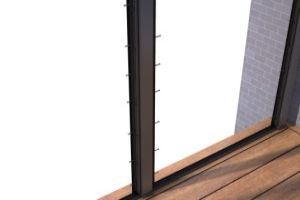
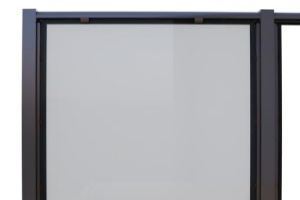
5) Position the primary steel posts in the correct position. |
6) Use the appropriate fixings. Fix the posts firmly to the structure making sure they are perfectly vertical. |
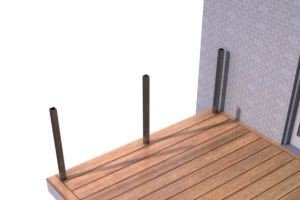
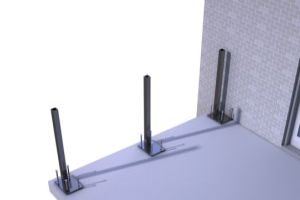
7) Finish the flooring, decking, screed, floor finish etc. to the required height. This should conceal the base plate and bolts. |

8) Apply a thick bead of silicone sealant around the primary steel post in a spiral fashion. |
9) Slide the system cover post onto the primary post. |
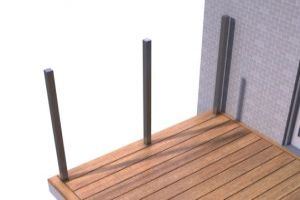
10) Ensure the cover post is in position on the finished floor level. |
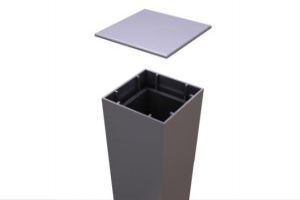
11) Prepare to place the cap. |
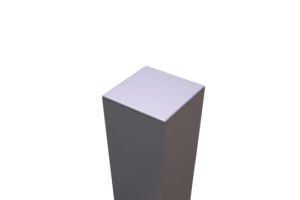
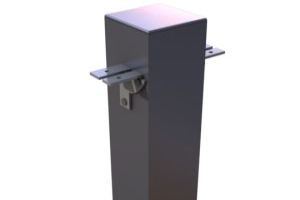
12) Cap the post using the end cap. |

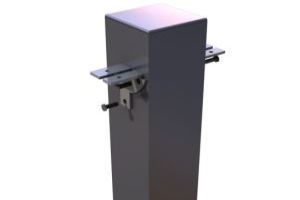
13) Bring the fixing bracket in place. Use the appropriate fixings. |
14) Cap the post using the end cap. |
15) Secure the fixing bracket to the post. |
16) Repeat this step for all posts. |
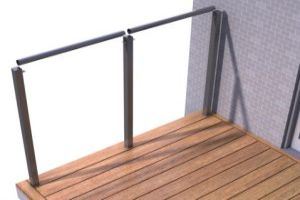
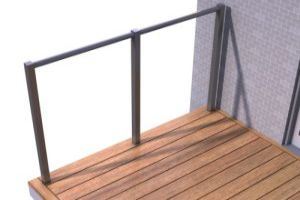
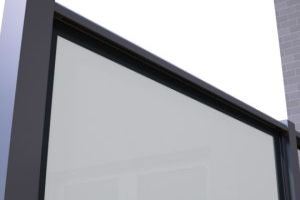
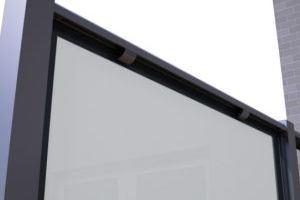
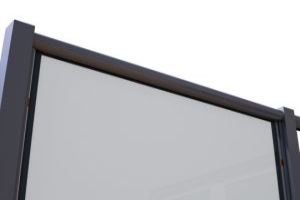
17) Bring the handrail into position. |

18) Drop the handrail onto the brackets. |

19) Drill 4mm holes through brackets into the handrail. |
20) Drill 4mm holes through brackets into the handrail. |

21) Repeat this step for all posts. |

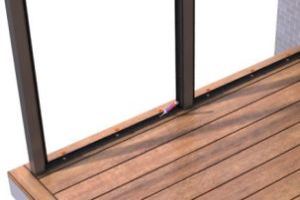
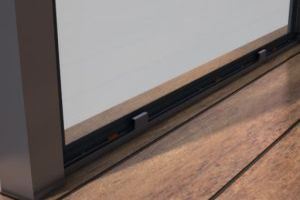
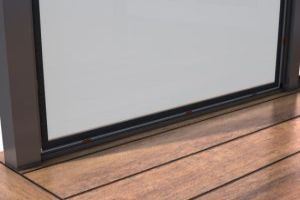
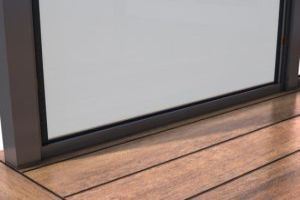
22) Place the bottom track into position. |
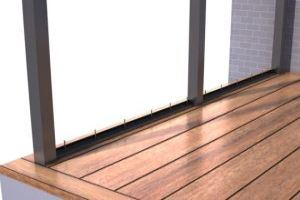
23) Drill into the floor/structure through the bottom rail to fix it. |

24) Secure the fixings to the bottom rail. |
25) Bottom rail is now fixed in position. |
26) Bring the side tracks into position. |
27) Drill into the post through the side track to fix it. |

28) Secure the fixings to the side track. |

29) All tracks now fixed in position. |
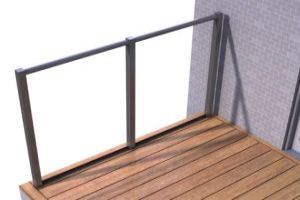
30) Place two 5mm (orange) spacers per required glass panel onto the bottom rail. Use silicone to glue them to the bottom rail. |
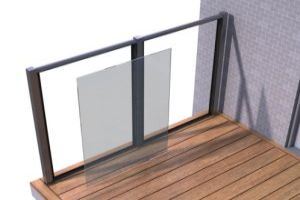
31) Identify glass sizes and where they are to go. |
32) Place one glass panel at a time into position. |
33) Use the short pieces of glazing bead to temporarily hold the glass in position. |

34) Use 3mm rubber gaskets to hold the glass against the small bead pieces on the bottom rail. |
35) Repeat this step for the handrail. |

36) Use the short pieces of glazing bead to temporarily hold the glass in position. |
37) Use 3mm rubber gaskets to hold the glass against the small bead pieces on the handrail. |
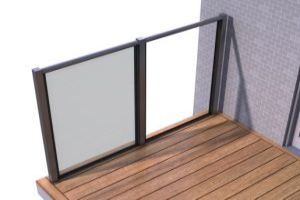
38) Align all the glass panels to have correct gaps. Use the glazing packers to lift one side or the other as needed, placing additional packers to the sides. |
39) Apply a thick bead of high quality silicone sealant to continuously fill the gap between the glass and rails on all four sides. |
40) Wait until the silicone is completely dry. |
41) Remove the temporary glazing beads. |
42) Replace the full length glazing bead on the bottom rail and using the 3mmglazing rubber provided glaze the side rails bead against the glass. |

43) Replace the full length glazing bead on the handrail. |
44) Using the 3mm glazing rubber provided glaze the handrail bead against the glass. |
45) Do the same for the side rails. |
46) Replace the full length glazing bead on the side rails. |
47) Using the 3mm glazing rubber provided glaze the side rails bead against the glass. |

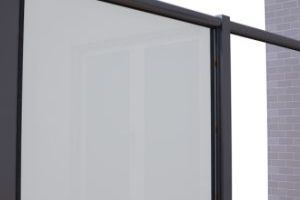
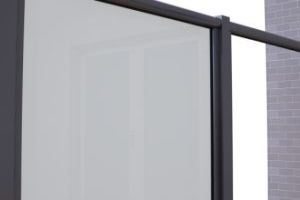
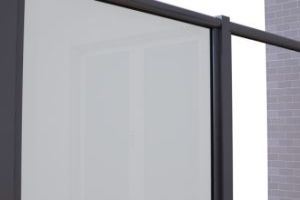
48) The privacy screen system can be combined with Balcony 1 system using the 72X72mm Newel post system. |
49) The privacy screen system can also be combined with the regular Balcony 1 system using the 55mm posts. |